Invoice generator
Create your invoice.
Send it. Get paid. It's that easy.

-
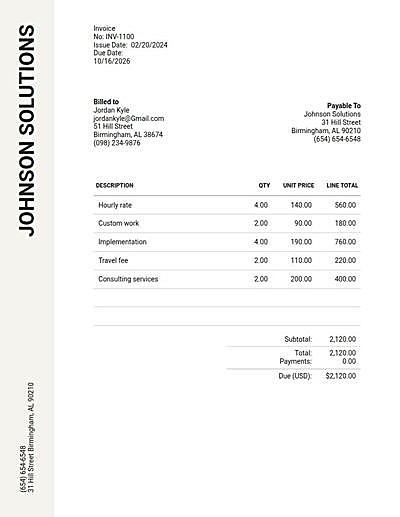
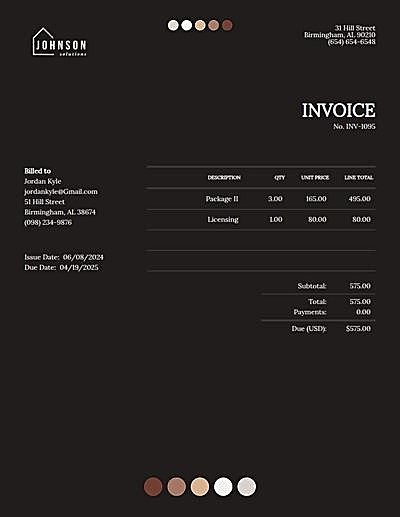
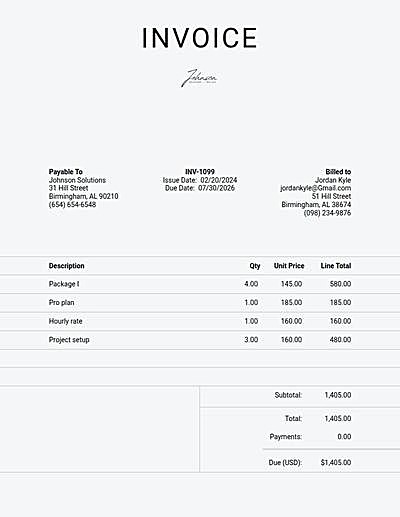
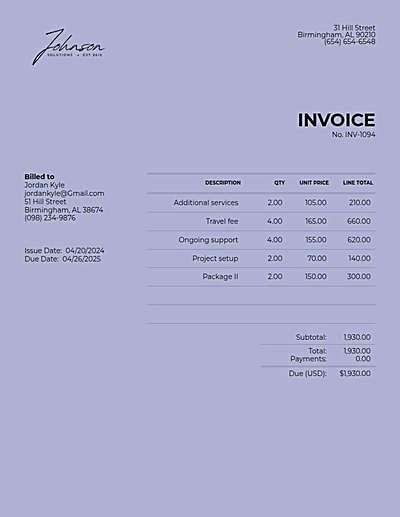
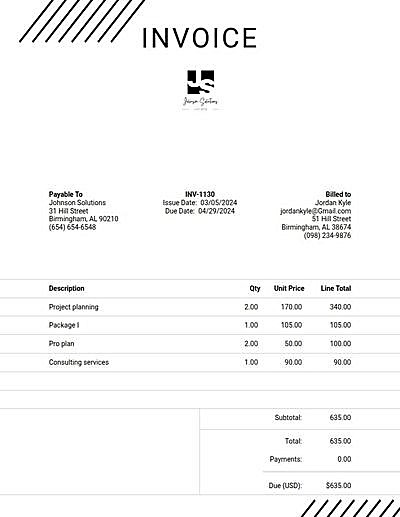
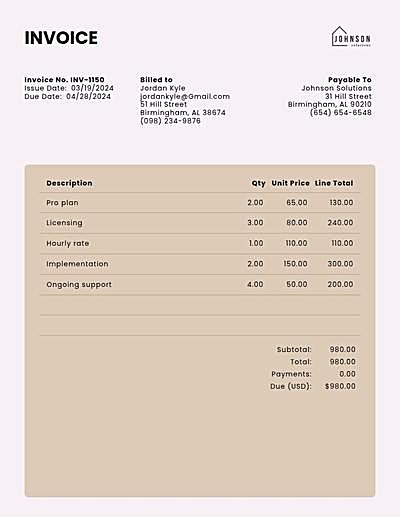
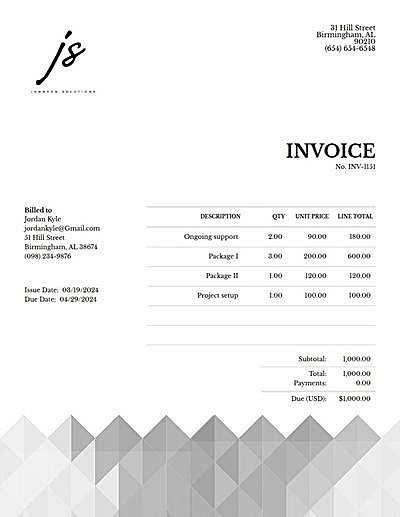
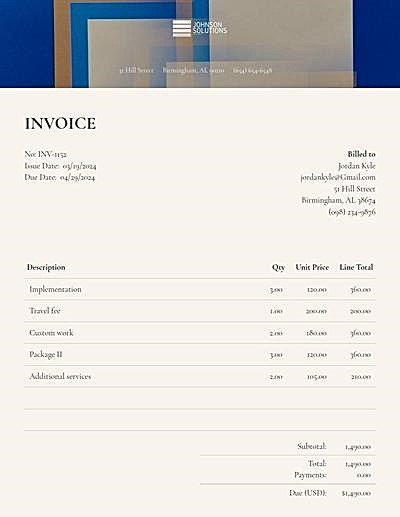
Invoice # Invoice Date Due Date Bill ToPayable ToDescription Tax Qty Price Total Subtotal: Total: 0 Paid: 0 Due (USD): $ Notes
How to use this invoice generator
Creating an invoice using Invoice Candy’s Invoice Generator is a straightforward process that helps you professionally bill your clients with ease. Here’s a step-by-step guide on how to create an invoice using this tool:
Step 1: Add Your Client’s Contact Information
Begin by entering your client’s contact details. This includes their name, address, phone number, and email address. Accurate information ensures that the invoice reaches the right person or department.
Step 2: Customize Your Brand
To maintain a professional appearance and enhance brand recognition, customize your invoice by adding your company logo. You can usually upload a logo file directly through the invoice generator interface. Additionally, customize the color scheme to match your brand’s visual identity if the platform allows.
Step 3: Add Line Items
Detail the products or services provided. For each line item, include a description, the rate, and the quantity. The invoice generator should automatically calculate the total cost for each line item. Be as descriptive as possible to avoid any confusion about what the client is being charged for.
Step 4: Download or Send Your Invoice Online
Once all the information is entered and you’ve reviewed the invoice to ensure everything is correct, you can choose to download the invoice as a PDF to send it yourself or use the Invoice Candy platform to email it directly to your client. Sending it through the platform can be more efficient and allows you to track when the invoice is viewed.
Step 5: Create an Account (Optional)
If you plan to save your invoice for future reference or need to receive payments online, start by creating an account on Invoice Candy. This will also allow you to keep track of paid and outstanding invoices.
Step 6: Add Payment Gateways (If Needed)
If you want to accept payments online, set up your payment gateways. Invoice Candy supports various payment processors like PayPal, Stripe, or bank transfers. Linking your accounts to these services generally involves entering your account details and possibly configuring some settings on your Invoice Candy account.
By following these steps, you can create a professional-looking invoice that helps streamline your billing process, ensures accuracy, and enhances your ability to get paid promptly. Utilizing tools like Invoice Candy not only simplifies administrative tasks but also supports better cash flow management for your business.
Invoice Templates